


This past March and April, I shot another play at Curio Theatre. The play was Madville, by Paul Kuhn, and I wanted to do something really decent for the play because Paul is one of the most decent guys I know.
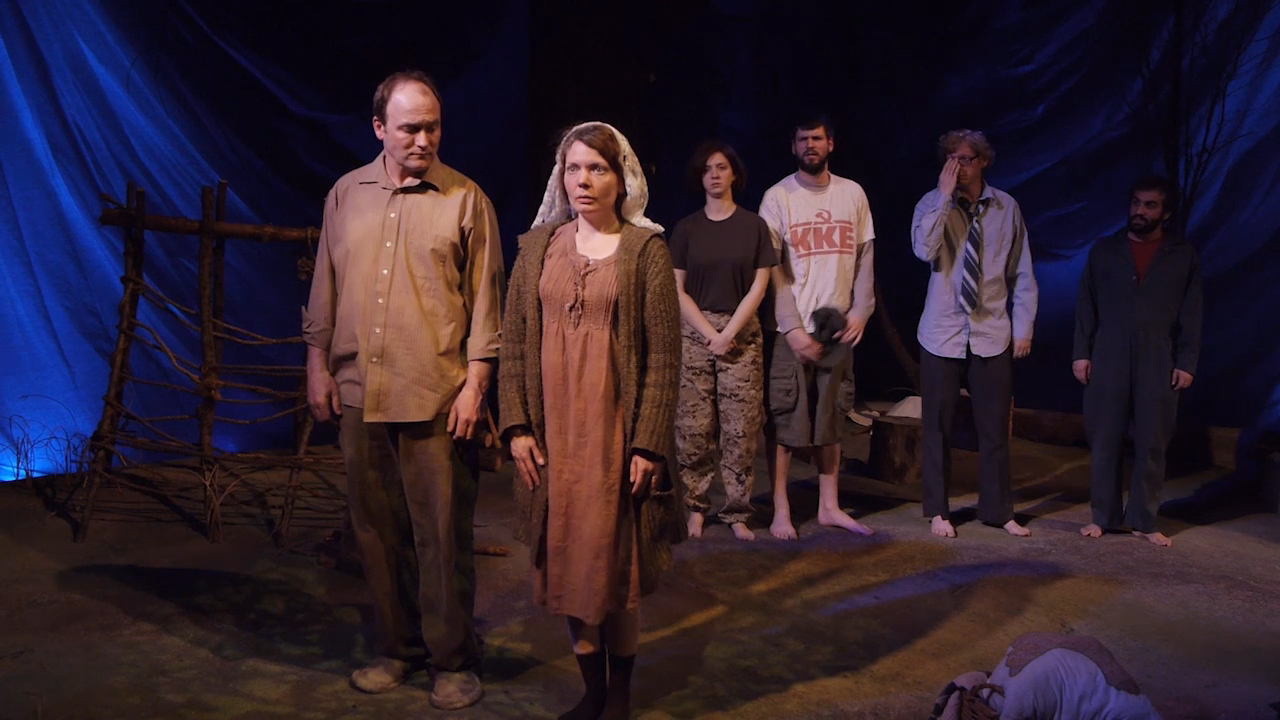 The play is based around a period in Paul’s childhood, when his father decided to relocate the family to some remote area of the Canadian wilderness so he could work on his piano compositions. For the next two years, Paul’s mom had to practically (and literally) build a household from the ground up, the kids were more or less unsupervised, and havoc more or less reigned in Canada even when the Canadian Army showed up for war games. The play moves fluidly between the recollections of the children, re-enactments of the events, and their arguments over what actually happened, and their gradual realizations about things they hadn’t recognized at the time.
I’d originally hoped to shoot a promo for the play, so I visited to shoot the rehearsals. Frankly, I couldn’t think of much for a promo. When you take bits of a play (or film) and try to assemble a trailer, or a Sample Taste, you have to impose some kind of interpretation on the thing, some overall theme or narrative or sense, and I couldn’t assemble anything that didn’t feel as though I’d missed the point of the play. About the only idea I had that might’ve been promising was to shoot close-ups of the innards of the piano Paul plays during the play. So, I took my little Pico Dolly, tried to set up my cheapo LED lighting boxes, and attempted to get some nice tight closeups of hammers striking cables. I just couldn’t get it to look very nice, and the lights and dolly kept falling off of the piano.
So I finally decided that my Good Deed to Support Paul would be to record the entire play. Unlike the other plays of the season, there was no copyright restriction on doing this. Obviously, I’d have to shoot it in the same way I’d shot _Twelfth Night_– separate performances shot from different vantage points– and this time, I’d have the advantage of a better camera and full hi-def video. It’d also give me a chance to develop a faster workflow. And it’d keep me from going nuts, as I’d been out of work for a few years and having a project to focus on was sort of psychologically necessary.
Shooting
 I have a very basic camera setup. I still use my old Panasonic TM700 camcorder on occasion. It’s probably one of the best prosumer-grade camcorders (lots of manual options, can shoot hi-def at 60 fps), but last year I invested in a Panasonic GH2 for better visual quality. As I’ve written before, the GH2’s firmware’s been hacked to enable the capture of video at higher bitrates, which translates to higher video quality, and the ability to use interchangeable lenses is a big plus for my video work. So my game plan was to use the GH2 as my main camera, on a tripod in the audience, and to mount the TM700 up high to get the entire stage from above. (I decided to not use that footage.)
There was some difficulty with the GH2. Madville‘s lighting was a little on the dim side. The lens I have is the standard-issue 14-42mm MFT lens, and while it looks really nice and offers a nice, wide field of view, it’s a very slow lens, no wider than f3.5 on the best of days. I could have upped the ISO setting and made my camera more sensitive… but that introduced a lot of grain into the image. Kyle Cassidy came to the rescue, and allowed me to borrow a much faster lens– the Panasonic 17mm prime MFT lens, which stops down to f1.8, and made everything look terrific at the base ISO setting of 600.
The Follow-Focus Rig
 I also decided to experiment with a follow-focus rig. Most people shoot with auto-focus, but it’s really easy for the camera to suddenly refocus when an actor steps away, so I prefer to shoot plays with manual focus. But, if you’ve ever had to focus a camera lens, you know that you have to reach around the lens barrel and twist it in an awkward, ungainly manner. You can’t do this without shoving the camera around, and it’s fine for stills, but it looks awful when you shift focus in video.
The follow-focus rig is a gearing system that lets you turn a knob, and thus, not jog the camera so much. Ideally, you’re supposed to be able to make small marks on the follow-focus rig, so you can turn the dial to the marks and be assured that you’re focused on the right objects. For example, you focus on the back of the stage and make a mark, and then you focus on the front of the stage and make a mark, and maybe you make a mark at the point where the lens is focused halfway. So you can turn the knob to those marks and be assured that your lens is focused at those points. The follow-focus rig I have is made by Fotga, made in China, and of excellent build quality.
 This didn’t work out. As it turns out, lenses that auto-focus don’t really have a true “manual mode.” You see, if a lens is made for manual focus, its mechanics are very direct: you turn the focus ring, and the lenses inside shift around in tiny spiral tracks and move into place. But an auto-focusing lens isn’t purely mechanical in the same way. Sure, you turn the ring, and the lens refocuses… but it’s as though the lens is only pretending to behave manual when it’s really engaging its motors. Or something. What this means is that I couldn’t calibrate the lens at all. I’d focus on the back of the stage, make a mark, then focus on the front and make a mark, but when I went to the back-of-the-stage mark the lens was still out of focus. In other words, the lens wouldn’t stay true to the marks.
(I tried a second experiment. When you have the GH2 in manual-focus mode, it displays a distance line on the screen with a moving pointer. So I wrapped two thin rubber bands around the screen, at the points that corresponded to focus points at the front and back of the stage. This was not a bad idea… but the points were too close to each other to make much of a difference.)
But the lesson here is this. If I want to have proper control over focusing during shooting, I need to acquire a truly manual-focus lens. Preferably one that’d both wide and fast as well: a fast 14mm manual-focus lens would be ideal. Sadly, such things do not exist for MFT cameras. Kyle loaned me an old Nikon lens to play with, and things are promising, but it’s not wide enough to use for these projects. (There is the possibility of using an adapter with pro-grade glass, but that’s expensive. A larger monitor would also help, but only if it’s full hi-def. But those will have to wait until I get the James Cameron money.)
More Shooting
I wound up using coverage from three performances– and, as with Twelfth Night, two of those were shot from more or less the same place in the audience. I was muc h closer to the action this time. Since the stage was raked from the rear of the theatre, actors didn’t obscure the ones further in the background. Generally, coverage was good; there were moments when the camera wasn’t aimed in the right place at the right time, and the focus may not have been as precise as my follow-focus antics might’ve aimed for, but it turned out pretty good for a one-man video crew.
Sound was recorded using a Rode Videomic, which is a really good mike for a very good price. Sadly, Curio’s theatre is a breeding ground for echoes, and there’s really no way I can filter those out. Happily, most of the sound was recorded at the same level from night to night, so there wasn’t much sound adjustment to be done.
I have to mention one wonderful moment that occurred on the last night’s performance. I’d shot three performances, but I attended the closing night without the camera, just to have a chance to really watch the play instead of watching it on a tiny camera screen. Turns out that, on Closing Night, Paul Kuhn’s brothers, sister, and mother travelled from their Canadian homes to see this play together– a play about their lives. Kyle Cassidy sprang into action and took a wonderful panorama shot of the cast standing alongside of their real-life counterparts.
Editing and Post-Production
Since I used the same camera and the same settings on each night, I didn’t have to do much in the way of color correction. One night’s shooting was done with a wider aperture, so I had to adjust the brightness down a tad.
 As I said, I edited together three different performances. And while the actors did pretty much the same things from night to night, one could detect subtle changes in line readings, pauses that ran longer or shorter, and stuff like that. How do you edit this stuff so that the performances are more or less preserved?
Well, it’s tricky. There are moments where I’d match the dialogue from one night to the video of another. Being able to see the waveform of the sound makes this relatively easy. I also found that, if I had to cut from one soundtrack to another, it was best to a) line up the waveforms so the dialogue matched, and then b) adjust the visual cut around that. Thus, the rhythm of the performance was preserved, the soundtrack didn’t have much in the way of telltale blips or fallouts, and generally, the cuts looked smooth. (I also found a neat trick. Let’s say Person A is speaking to Person B, and Person B replies. If I cut from Person A to Person B, I found that it felt smoothest if I cut the video when Person A is speaking the last one or two words of the sentence. )
There’s also some difficulty when an actor’s physical business is noticeably different from night to night. One night he might recite his monologue with arms folded, and looking right: the next, hands on his hips and looking left. One can try to disguise that stuff, but it’s never going to be perfect. But because I have to work with this, I’ve become very acute at noticing such blips and mismatches on professional-level shows– even ones as meticulous as Mad Men or Breaking Bad. So I didn’t sweat those moments as much.
The Pros and Cons of Hi-Def
 At the very least, shooting in hi-def means that this thing will still look good if I put this on a Blu-Ray. But there are advantages and disadvantages to hi def that bear some discussion.
The one big disadvantage is that full hi-def files require a VERY fast computer. And even though I have a fairly fast AMD processor, lots of memory, and an NVIDIA card with a heap of CUDA cores that should make things run like warm butter, the AMD chip’s just not fast enough. I’d have to upgrade to a high-speed i7 chip and mobo for real ease of use.
 I devised a workaround to get past this problem. So, when I got my video files ready, I rendered out two video streams for each performance. The first stream was the full, 1920×1080 hi-def version. The second was at 1280×720, the “low hi-def” format that still looks OK on a big screen. I used these second streams to edit with: they played just fine, and editing was a breeze. (The tradeoff here was time. If I let the machine do its rendering overnight, I lost maybe a day of editing; if I’d had to have my machine chug along on hi-def files, the editing’d take at least three extra weeks.)
So now I had an edit, in mid-hi-def format. That could render out very quickly to a file I could play on my TiVo, and it’d be perfectly fine for a YouTube release if that was going to happen. I also rendered off a DVD, however, and gave it to Paul Kuhn and Gay Carducci-Kuhn at Curio. (I’ll be copying DVDs for the rest of the cast and the director, Rosemary Fox.)
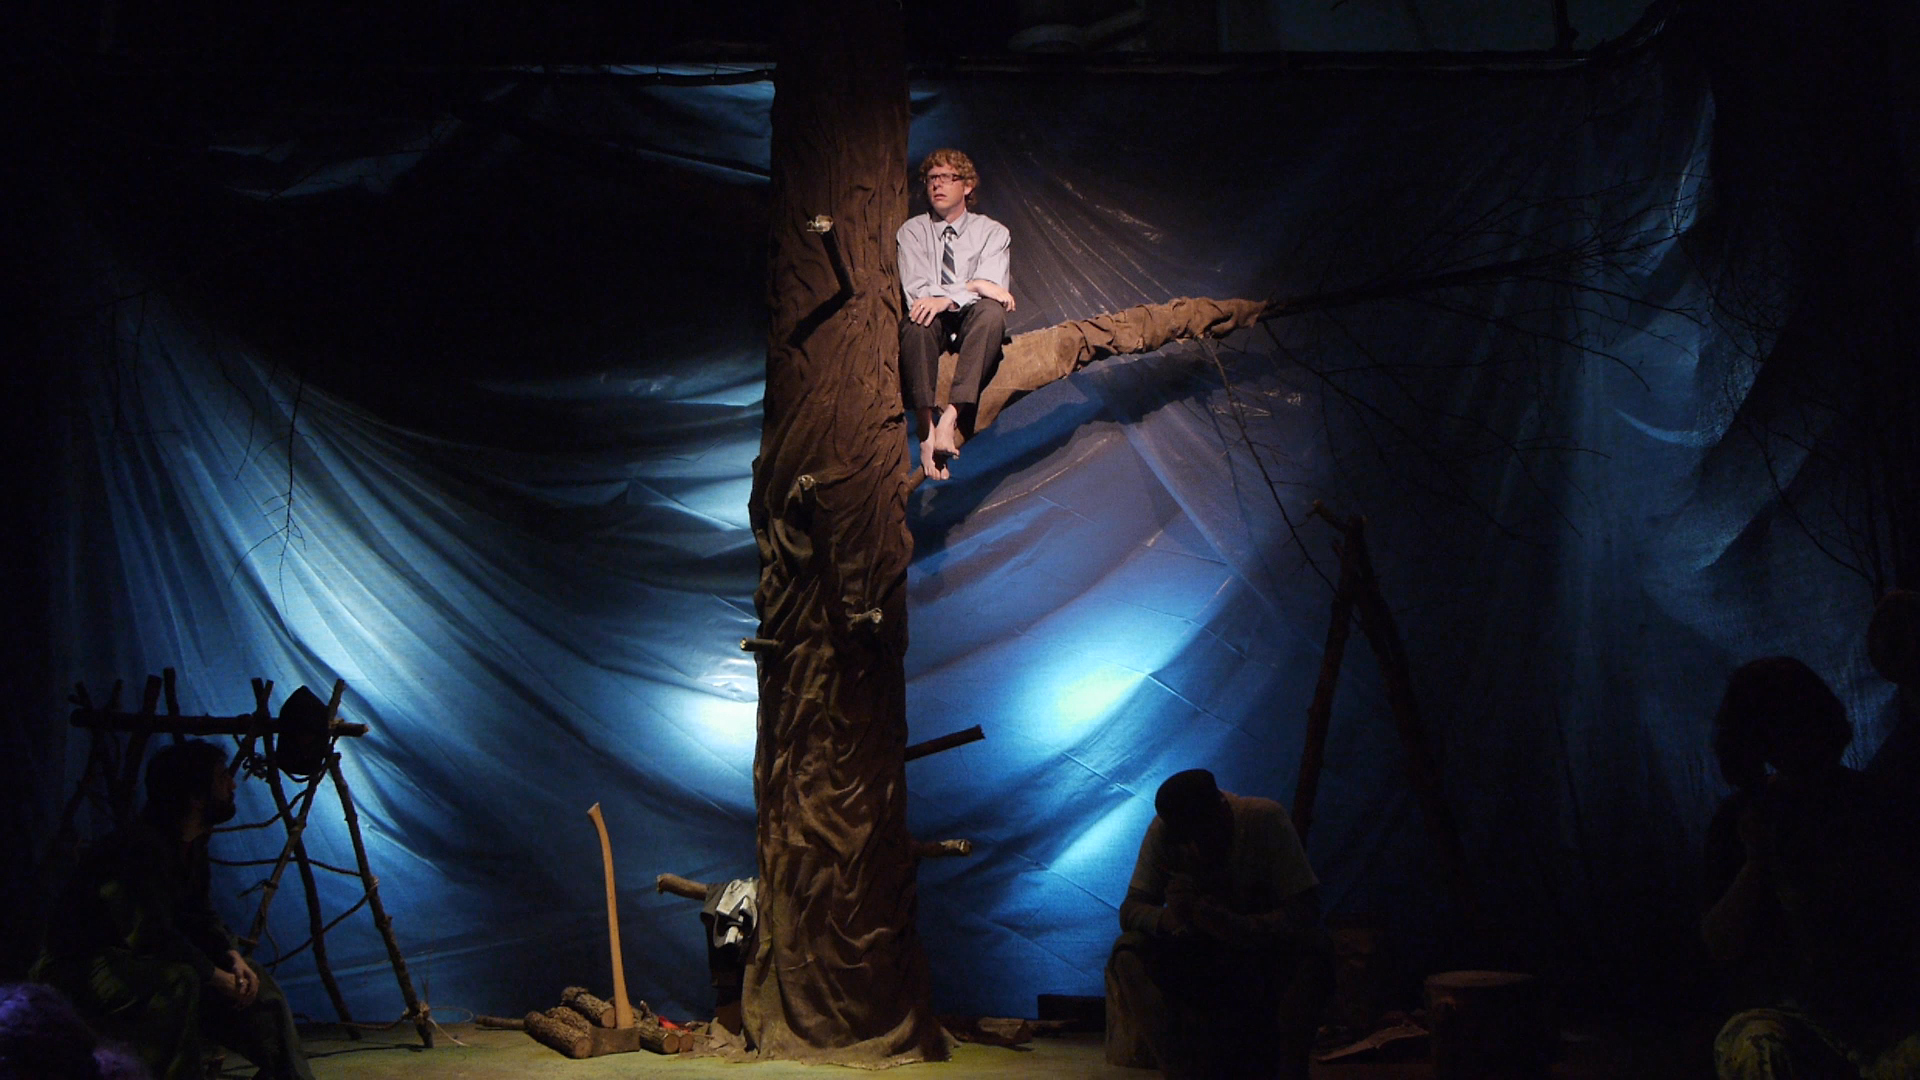
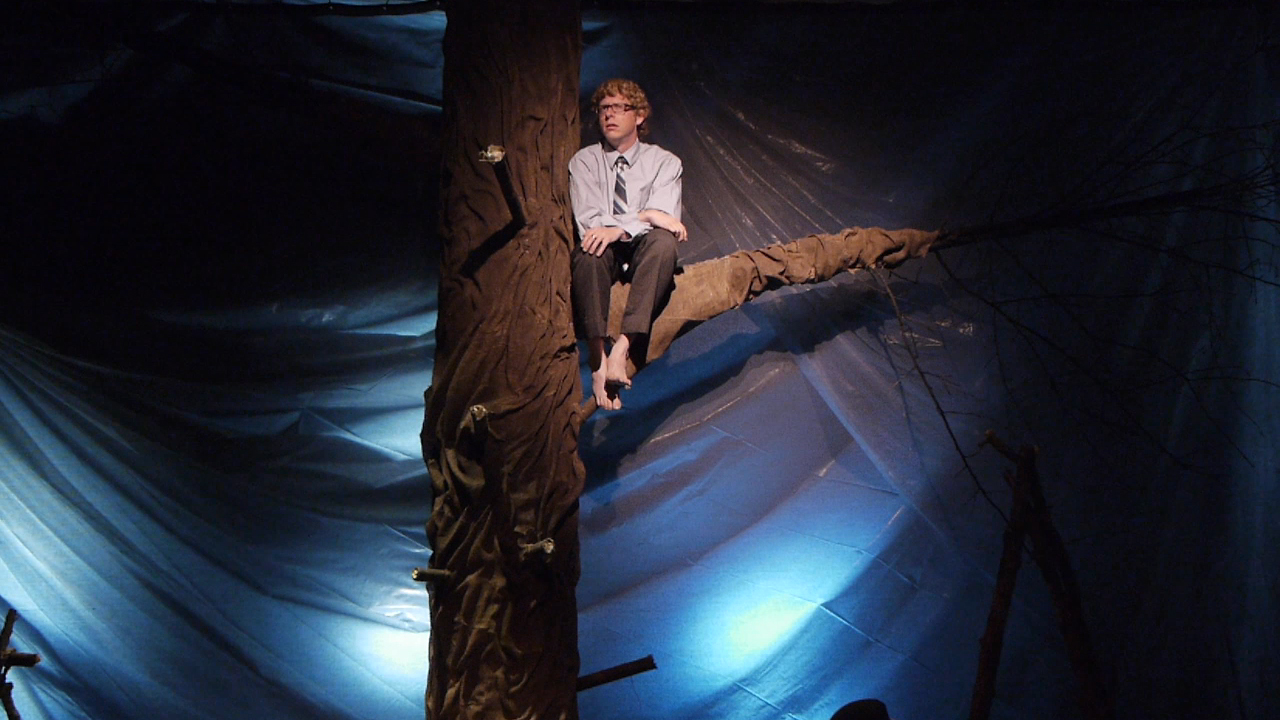
 There is another advantage to shooting in hi-def that I haven’t exploited just yet. If my original video is 1920×1080, and my final product is smaller than that, I can actually re-frame shots in post-production without losing any image quality. And if my final product is MUCH smaller than that– like a DVD, which runs at 720×480 resolution– I have even more leeway in reframing the shots. The three pictures to the left illustrate this. The first is the full hi-def frame. The second is reframed at 1280×720, and the third is at DVD resolution. So you can see the advantages. The only downside is that it requires using the full-hi-def files, and the computer chugs, so it’s a lot of work even if the actual editing’s done. I haven’t done this to Madville yet, and I’m sort of hoping that I won’t have to.
Conclusion
As I said, I gave a DVD of the first edit to the Kuhns. I don’t know if they’ll have any use for it beyond as a preserved record of the play; I don’t know if it has any commercial value, or if it can be used to cultivate funds or donations. But, I’m proud of the work I did; I think it shows that I’m getting much, much better at this video stuff, and for a single-person video shoot, I think it turned out pretty good.
Madville
Directed by Rosemary Fox
Set Design by Paul Kuhn
Costume Design by Aetna Gallagher
Lighting Design by Tim Martin
Production Photography by Kyle Cassidy
Featuring:
Paul Kuhn as Art
Jennifer Summerfield as Joanna
Steve Carpenter as Joshua
Harry Slack as Sol
Josh Hitchens as Daniel
Rachel Gluck as Alice
Eric Scotolati as Pete